Creating DIY solar lamps is a rewarding and eco-friendly project that allows you to harness the power of the sun to craft your own lighting solutions. Here’s a step-by-step guide to making your own solar lamp:
Materials You’ll Need:
- Solar Panel: Choose a small, portable solar panel with sufficient capacity to charge a rechargeable battery. You can purchase solar panels online or from a local electronics store.
- Rechargeable Battery: Select a rechargeable battery that matches the voltage output of your solar panel. Common options include 1.2V AA or AAA NiMH batteries.
- LED Bulb: Use an energy-efficient LED bulb, which consumes less power and produces bright light. Make sure the LED bulb operates on the same voltage as your battery.
- Battery Holder: You’ll need a battery holder that can accommodate the chosen battery type. These are typically available at electronics or hobby stores.
- Switch: Include a simple on/off switch to control the lamp.
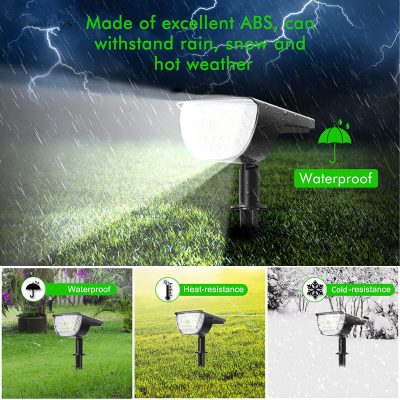
- Lamp Housing: You can use various materials like PVC pipes, glass jars, plastic bottles, or any other waterproof and transparent container for your lamp housing.
- Cable/Wire: Obtain some electrical wire to connect the components.
- Soldering Iron and Solder: If you’re comfortable with soldering, you can use it to connect wires and components securely.
- Glue or Silicone Sealant: Use this to seal and waterproof your lamp housing.
- Mounting Hardware: If you want to attach your lamp to a pole, stake, or any other structure, gather suitable hardware for mounting.
Steps to Make a DIY Solar Lamp:
- Prepare the Solar Panel:
- Attach wires to the positive and negative terminals of the solar panel. These wires will connect the panel to the battery.
- Connect the Battery and LED:
- Connect the rechargeable battery to the battery holder. Connect the positive terminal of the battery holder to the positive terminal of the LED bulb and do the same for the negative terminals.
- Add a Switch:
- Insert the on/off switch into the circuit. You can place it anywhere along the positive wire to control the flow of electricity.
- Test the Circuit:
- Before sealing the lamp housing, test the circuit to ensure that the LED lights up when the solar panel is exposed to sunlight and the switch is in the “on” position.
- Assemble the Lamp Housing:
- Place the LED and battery assembly inside the lamp housing. Make sure the LED is positioned in a way that it can emit light through the transparent cover.
- Seal and Waterproof:
- Seal the lamp housing to make it waterproof using glue or silicone sealant. Ensure that all openings are tightly sealed to protect the components from moisture.
- Mount and Position:
- Attach the solar panel to the top of the lamp housing or mount it separately in a location that receives ample sunlight.
- Place Your DIY Solar Lamp:
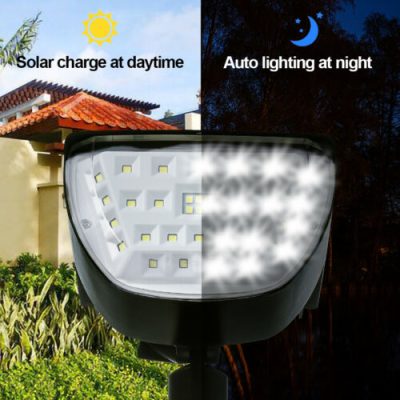
- Place your DIY solar lamp in a location where it can charge during the day and provide light where you need it at night.
Remember to consider the placement of your solar lamp to ensure it receives adequate sunlight for charging. DIY solar lamps can be a fun and practical project that not only provides eco-friendly lighting but also showcases your creativity and ingenuity.


